
· 2 min read
Paul Deng

Gatekeeping is childish and it's a sign that people are insecure about their interests.

What is this counter-gatekeeping about then?

It's that kid in high-school skipping through the grades and graduating early. Like what is the rush?

Still not clear? Yeah, my bad - let’s give an example.

Say if you develop a new hobby in home coffee brewing it might look something like this:

  1. Informer - someone who learned there is a whole world beyond drip coffee

  2. Dabbler - someone who is starting to know the difference between pour-over and immersion brew and probably owns a home setup to brew their daily cups of coffee

  3. Gatekeeper (optional) - someone who looks down on those that drink venti cold brew with half a cup of oat milk and a few packets of stevia

  4. Lifer - someone who appreciates the intricacies of coffee making but doesn’t try to convert everyone from their dog to their grandma into becoming a home barista

I started to notice that I like to rush through this progression whenever I find a new hobby or a lane of interest.

Why?

Is it because I am scared of being labeled as a gatekeeper and I want to immediately jump past it?

It is because I think informer and dabbler are not worthwhile?

I think I should take more time to enjoy each step of the process and be okay with enjoying the "lesser" versions of that thing.

· 5 min read
Paul Deng

First of all, what is a second brain?

brain-box

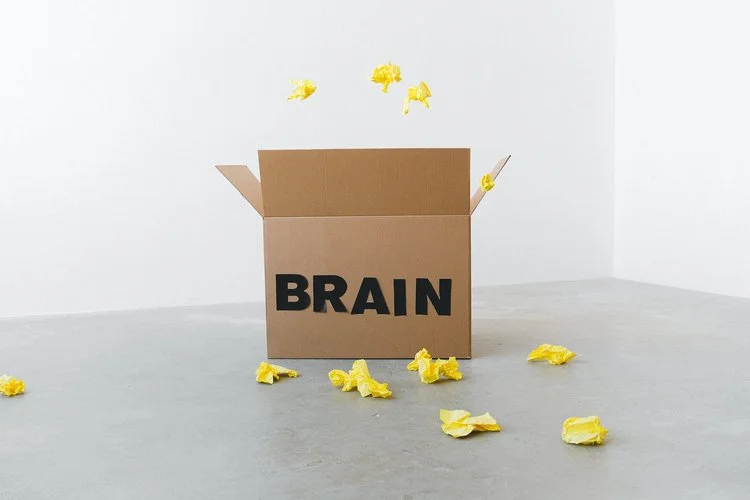
It is a place to store facts and ideas that you learned but may not need on a day-to-day basis. The reason to have a second brain is to keep your primary brain's cognitive activity free of clutter and not be bogged down with remembering numbers, names, and details. It can be focused on the process of understanding and reasoning knowledge.

· 15 min read
Paul Deng

I always lament the fact that I forgot all the random things I learned over the year, so in 2021 I made an effort to note down the things I learned just to make this post at the end of the year to look back and remember it again.

· 5 min read
Paul Deng

March 2018

  • Beans: Coffee Island Microfarm (Ethiopia Yirgacheffe Kochere)
  • Grind Size: 21
  • Coffee Portion: 12 g
  • Water Portion: 200 ml
  • Brew Time: ~1:30
  • Taste: Sweet and light
  • Rate: 10/10

Note: Did a side-by-side taste test between the Perger and 40/60 method. The subtle honey and black leaf aromas were more prominent in the Perger method, whereas the acidity dominated the taste profile in the 40/60 method. Because of the interesting aromas with this particular bean, the Perger method is preferred.

May 2018

After almost two weeks without proper coffee, I bought some beans from Sumatra, Indonesia to try. It was brewed in the Chemex with the usual ratio of 1:16.7, and the resulting brew had a slightly juicy body that gets sour the more sips you take. The first notes were definitely earthy and herbal - the card indicated tobacco as one of the notes - but obviously I can’t start to tell the difference tobacco, cedar and wood. Then the subsequent notes are sharp, dry and acidic.

Not sure if I enjoyed this one, it is not a combination I particularly enjoy. Which means I probably should write a mental note here - DON’T BUY SUMATRA INDONESIAN BEANS AGAIN!

August 2018 (Pour over cold brew)

  • Beans: Kicking horse 454 horsepower
  • Grind Size: 10
  • Coffee Portion: 25g
  • Water Portion: 200 ml
  • Ice portion: 250 g
  • Brew Time: ~2:00
  • Taste: Strong, oily and bitter
  • Rate: 7/10

During the summertime, I prefer to cold brew my coffee. This year I learned about Japanese cold pour over - which is much faster to prepare compared to the traditional cold brew. Instead of brewing overnight, Japanese cold pour over uses ice to instantly cool the hot coffee to a refreshing temperature.

To make this, you start by heating the vessel and wet the filter paper with boiling water. Then you add about ~150g of ice into the vessel before making any coffee. Then you slowly pour about 200ml of water over finely grind coffee beans with the usual bloom and pour steps. As the final drips of water is filtered through, you add about ~100g of ice into the coffee to finish.

At the end you have a cup of nicely chilled coffee to start the summer day.

v60 Pour Methods

About 6 months ago, I got a Hario v60 dripper for my morning brews. Since I am the only coffee drinker in the house, making a single cup with the 6-cup Chemex seems awfully wasteful. With the smaller dripper, it allowed me to explore different pour methods and test their differences in my daily cup of coffee.

I use the Baratza Encore on setting 21 to grind the beans for all of the pour methods.

The Perger Method

  • Coffee - 12g
  • Water - 200ml
  • Pour - 50ml bloom, 50ml @ 30s, 100ml @60s

Matt Perger's technique is very simple and easy to replicate. It produces a softer cup with less accentuation to the sweetness and acidity of the beans. I usually make a cup with 27g of coffee while keeping the same coffee:water ratio. This method scales well with different amounts of coffee because dividing the water into three distinct pours allow control without being too finicky.

4-6 Method

  • Coffee - 20g
  • Water - 300ml
  • Pour - 40% of water in two pours, 60% of water in as many pours as you want

This award winning technique by Tetsu Kasuya is nuanced and more difficult to perform. However, I love the precision this pour gives to the flavor of the final cup. The idea of this method is the 40% component determines the balance between acidity and sweetness. The more water one uses in the first pour of this component, the more acidic the final cup will be, and vice versa. The 60% component determines the strength of the coffee. If one divides the 60% of water with more number of pours, the stronger the coffee will be. Since this method also calls for a slightly higher coffee:water ratio, the resulting cup is more flavorful. I always chose to use this method with a fresh batch of beans to experience the palette for the first time.

Continuous Pour

  • Coffee - 27g
  • Water - 450ml
  • Pour - initial bloom, then pour the rest slowly in a circular pattern, aim for 2:00 - 2:30 brew time

Instead of pouring water in distinct batches and waiting for each batch of water to completely dissipate through the grounds, this method continuously add water after the bloom step. Begin by pre-wetting the ground with 75g or so of water (depends on how much coffee there is). Actively dig through the grounds to ensure there are no dry spots and the gases are released from the freshly grind beans. Then pouring in slow and steady circles around the center of the v60, near but not on the edge of the grounds. Allow water to build up as high as possible without spilling. Rao spin can be achieved through this continuous pour. The Rao spin is a way to achieve a flatter bed to allow for even extraction (although not actually invented by Scott Rao). Another way to achieve a flatter bed is to carefully thump the v60 down on the cup and gravity should even out the grinds. Although this method doesn't allow for customization of the flavor, it is consistent in producing the same cup over and over again.

· One min read
Paul Deng

February 2019

It has been a while since I’ve had the time to try new beans. Today I brewed two cups of Ethiopia Limu beans with the intent of testing two different grind settings. Usually, I grind at 21 on the Baratza Encore for pour-over because it was a number I found online and I never thought too much of it.

I figured the internet is never wrong, why bother checking it.

But that’s half the fun of brewing at home, you get to tinker with the little levers and dial into your favorite setup. So I brewed two cups with the ratio of 200 ml of water to 12.5 g of coffee, and the same pour method of 4 pours with a 60 ml bloom, 120 ml, 180 ml and 20 ml Rao Spin to finish. The Rao Spin gives you an even bed of grounds to end the extraction process.